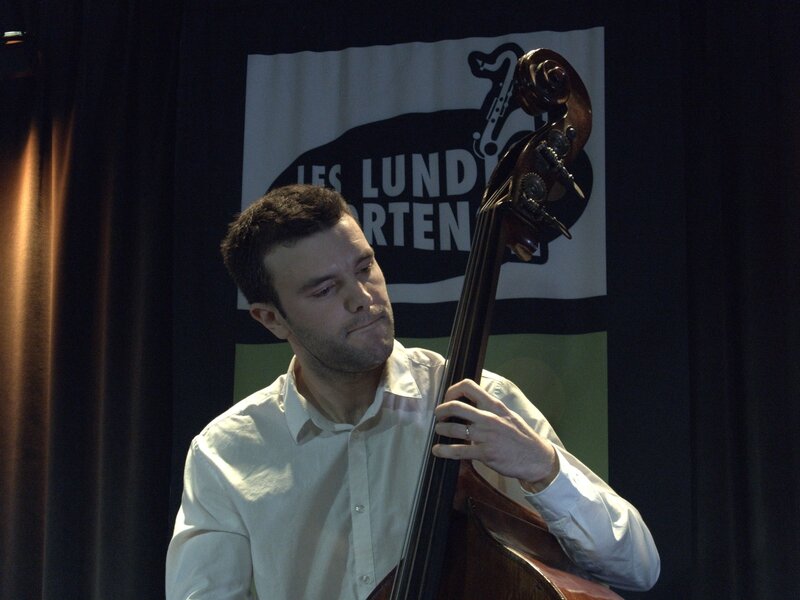
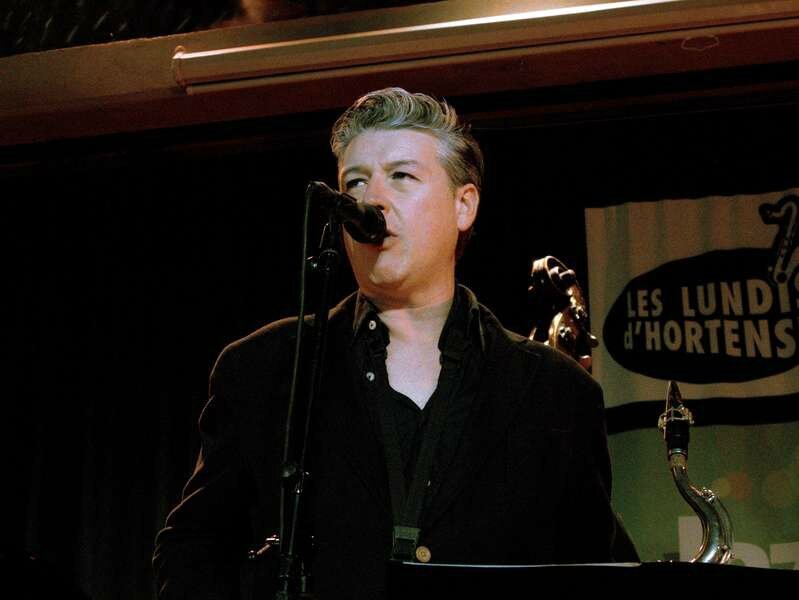
Soustraction du fichier darkframe
Comparaison de trois traitements
Mon fichier de commandes
#!/bin/bash
# for i in *.RWL; do dcraw -c -q 3 -w -H 5 -b 8 $i | cjpeg -quality 100 > $i.jpg; done
# for i in *.RWL; do dcraw -c -q 3 -a -H 5 -b 5 $i | cjpeg -quality 100 > $i.jpg; done
# jazz station spot LED
# for i in *.RWL; do dcraw -c -q 3 -n 800 -r 1.778320 1 2.772461 1 -H 5 -b 8 -S 8000 -g 2.4 # 12.9 $i | cjpeg -quality 100 > $i.jpg; done
# for i in *.RWL; do dcraw -c -q 3 -r 0.646707 0.383234 1 0.383234 -H 5 -b 8 -S 8000 -g 2.4 12.9
# $i | cjpeg -quality 100 > $i.jpg; done
# spot 25/01/2017
for i in *.RWL; do dcraw -c -q 3 -n 800 -r 1 1.131987 3.285625 1.114599 -H 5 -b 8 -S 8000 -g 2.4 12.9 $i | cjpeg -quality 100 > $i.jpg; done
#riches-claires
# w
# for i in *.RWL; do dcraw -c -q 3 -r 2.296875 1 1.937500 1 -H 5 -b 8 -S 8000 -g # # 2.4 12.9 $i | cjpeg -quality 100 > $i.jpg; done
# a
for i in *.RWL; do dcraw -c -q 3 -r 1.354602 1.013341 1.144138 1 -H 5 -b 8 -S 8000 -g 2.4 12.9 $i | cjpeg -quality 100 > $i.jpg; done
man dcraw
NAME
dcraw - command-line decoder for raw digital photos
SYNOPSIS
dcraw [OPTION]... [FILE]...
DESCRIPTION
dcraw decodes raw photos, displays metadata, and extracts thumbnails.
GENERAL OPTIONS
-v Print verbose messages, not just warnings and errors.
-c Write decoded images or thumbnails to standard output.
-e Extract the camera-generated thumbnail, not the raw image.
You'll get either a JPEG or a PPM file, depending on the camera.
-z Change the access and modification times of an AVI, JPEG, TIFF
or raw file to when the photo was taken, assuming that the cam‐
era clock was set to Universal Time.
-i Identify files but don't decode them. Exit status is 0 if dcraw
can decode the last file, 1 if it can't. -i -v shows metadata.
dcraw cannot decode JPEG files!!
REPAIR OPTIONS
-P deadpixels.txt
Read the dead pixel list from this file instead of ".badpixels".
See FILES for a description of the format.
-K darkframe.pgm
Subtract a dark frame from the raw data. To generate a dark
frame, shoot a raw photo with no light and do
dcraw -D -4 -j -t 0.
-k darkness
When shadows appear foggy, you need to raise the darkness level.
To measure this, apply pamsumm -mean to the dark frame generated
above.
-S saturation
When highlights appear pink, you need to lower the saturation
level. To measure this, take a picture of something shiny and
do dcraw -D -4 -j -c photo.raw | pamsumm -max
The default darkness and saturation are usually correct.
-n noise_threshold
Use wavelets to erase noise while preserving real detail. The
best threshold should be somewhere between 100 and 1000.
-C red_mag blue_mag
Enlarge the raw red and blue layers by the given factors, typi‐
cally 0.999 to 1.001, to correct chromatic aberration.
-H 0 Clip all highlights to solid white (default).
-H 1 Leave highlights unclipped in various shades of pink.
-H 2 Blend clipped and unclipped values together for a gradual fade
to white.
-H 3+ Reconstruct highlights. Low numbers favor whites; high numbers
favor colors. Try -H 5 as a compromise. If that's not good
enough, do -H 9, cut out the non-white highlights, and paste
them into an image generated with -H 3.
COLOR OPTIONS
By default, dcraw uses a fixed white balance based on a color chart
illuminated with a standard D65 lamp.
-w Use the white balance specified by the camera. If this is not
found, print a warning and use another method.
-a Calculate the white balance by averaging the entire image.
-A left top width height
Calculate the white balance by averaging a rectangular area.
First do dcraw -j -t 0 and select an area of neutral grey color.
-r mul0 mul1 mul2 mul3
Specify your own raw white balance. These multipliers can be
cut and pasted from the output of dcraw -v.
+M or -M
Use (or don't use) any color matrix from the camera metadata.
The default is +M if -w is set, -M otherwise. This option only
affects Olympus, Leaf, and Phase One cameras.
-o [0-5]
Select the output colorspace when the -p option is not used:
0 Raw color (unique to each camera)
1 sRGB D65 (default)
2 Adobe RGB (1998) D65
3 Wide Gamut RGB D65
4 Kodak ProPhoto RGB D65
5 XYZ
-p camera.icm [ -o output.icm ]
Use ICC profiles to define the camera's raw colorspace and the
desired output colorspace (sRGB by default).
-p embed
Use the ICC profile embedded in the raw photo.
INTERPOLATION OPTIONS
-d Show the raw data as a grayscale image with no interpolation.
Good for photographing black-and-white documents.
-D Same as -d, but totally raw (no color scaling).
-h Output a half-size color image. Twice as fast as -q 0.
-q 0 Use high-speed, low-quality bilinear interpolation.
-q 1 Use Variable Number of Gradients (VNG) interpolation.
-q 2 Use Patterned Pixel Grouping (PPG) interpolation.
-q 3 Use Adaptive Homogeneity-Directed (AHD) interpolation.
-f Interpolate RGB as four colors. Use this if the output shows
false 2x2 meshes with VNG or mazes with AHD.
-m number_of_passes
After interpolation, clean up color artifacts by repeatedly
applying a 3x3 median filter to the R-G and B-G channels.
OUTPUT OPTIONS
By default, dcraw writes PGM/PPM/PAM with 8-bit samples, a BT.709 gamma
curve, a histogram-based white level, and no metadata.
-W Use a fixed white level, ignoring the image histogram.
-b brightness
Divide the white level by this number, 1.0 by default.
-g power toe_slope
Set the gamma curve, by default BT.709 (-g 2.222 4.5). If you
prefer sRGB gamma, use -g 2.4 12.92. For a simple power curve,
set the toe slope to zero.
-6 Write sixteen bits per sample instead of eight.
-4 Linear 16-bit, same as -6 -W -g 1 1.
-T Write TIFF with metadata instead of PGM/PPM/PAM.
-t [0-7,90,180,270]
Flip the output image. By default, dcraw applies the flip spec‐
ified by the camera. -t 0 disables all flipping.
-j For Fuji Super CCD cameras, show the image tilted 45 degrees.
For cameras with non-square pixels, do not stretch the image to
its correct aspect ratio. In any case, this option guarantees
that each output pixel corresponds to one raw pixel.
-s [0..N-1] or -s all
If a file contains N raw images, choose one or "all" to decode.
For example, Fuji Super CCD SR cameras generate a second image
underexposed four stops to show detail in the highlights.
FILES
./.badpixels, ../.badpixels, ../../.badpixels, ...
List of your camera's dead pixels, so that dcraw can interpolate
around them. Each line specifies the column, row, and UNIX time
of death for one pixel. For example:
962 91 1028350000 # died between August 1 and 4, 2002
1285 1067 0 # don't know when this pixel died
These coordinates are before any cropping or rotation, so use
dcraw -j -t 0 to locate dead pixels.
SEE ALSO
pgm(5), ppm(5), pam(5), pamsumm(1), pnmgamma(1), pnmtotiff(1), pnm‐
topng(1), gphoto2(1), cjpeg(1), djpeg(1)
AUTHOR
Written by David Coffin, dcoffin a cybercom o net


